How To Hike To The Tiger’s Nest Monastery In Bhutan

The Tiger’s Nest Monastery hike is one of the best things to do in Bhutan, and probably one of the most amazing day hikes in the world.
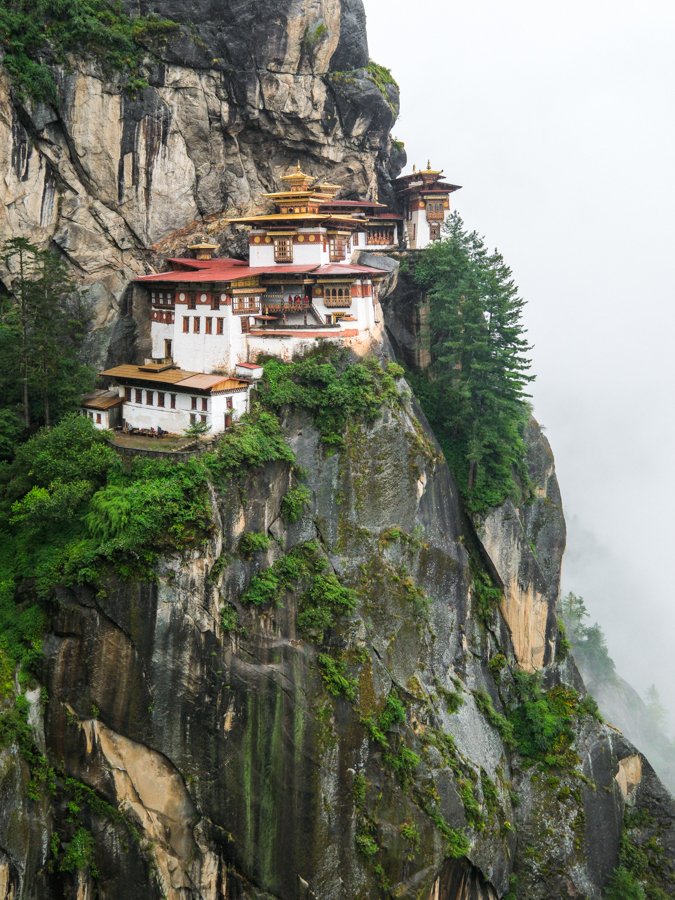
This photogenic Buddhist monastery, also known as Paro Taktsang, clings to the side of a steep cliff that’s 900 meters tall, or almost 3,000 feet! It hardly looks real.
The Tiger’s Nest hike is not too difficult for most people of average fitness, and it’s located fairly close to the main airport in Bhutan. However, because of Bhutan’s unusual tourist tax, this awesome little country is still off the radar for most international tourists.
This travel guide will explain how to do the Tiger’s Nest hike in Bhutan, what to expect in terms of difficulty, and everything else you need to know before you go!
Tiger’s Nest Hike: Quick Facts
- Distance: 6 kilometers (3.7 mi) round trip
- Elevation Gain: 600 meters (1,970 ft)
- Top Elevation: 3,100 meters (10,170 ft)
- Duration: 4 – 8 hours round trip
- Difficulty: Moderate
How To Get To The Tiger’s Nest Monastery In Bhutan
The Tiger’s Nest Monastery is located about 15 kilometers from Paro town and the Paro International Airport in western Bhutan, so it’s relatively accessible.
The paved parking lot is only a 30 minute drive from Paro. The road to the trailhead can be a bit narrow and winding at times, but it’s not a steep or dangerous drive at all. Your tour guide in Bhutan can arrange transportation for you to the start of the trail.
The monastery itself is located on a steep cliff above the Paro valley, so the only way to get there is by hiking. There’s no cable car, and you can’t drive to the top either. No matter who you are, a hike is required!
Tiger’s Nest Monastery Hike: What To Expect
• Starting The Hike
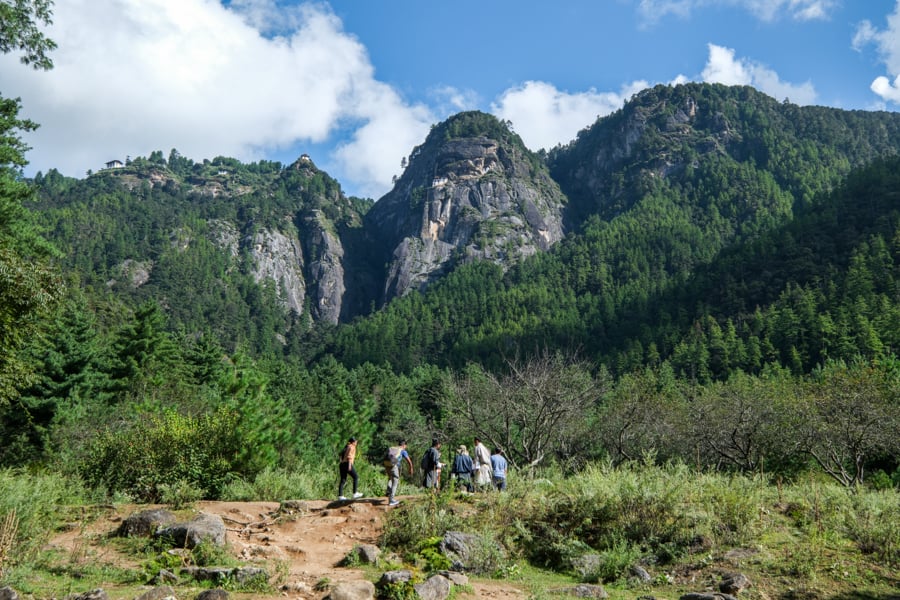
The hike to the Tiger’s Nest Monastery starts out in a dense forest of pine trees. You get your first view of the monastery almost right away, although it’s distant and it looks very small at the top of the mountain.
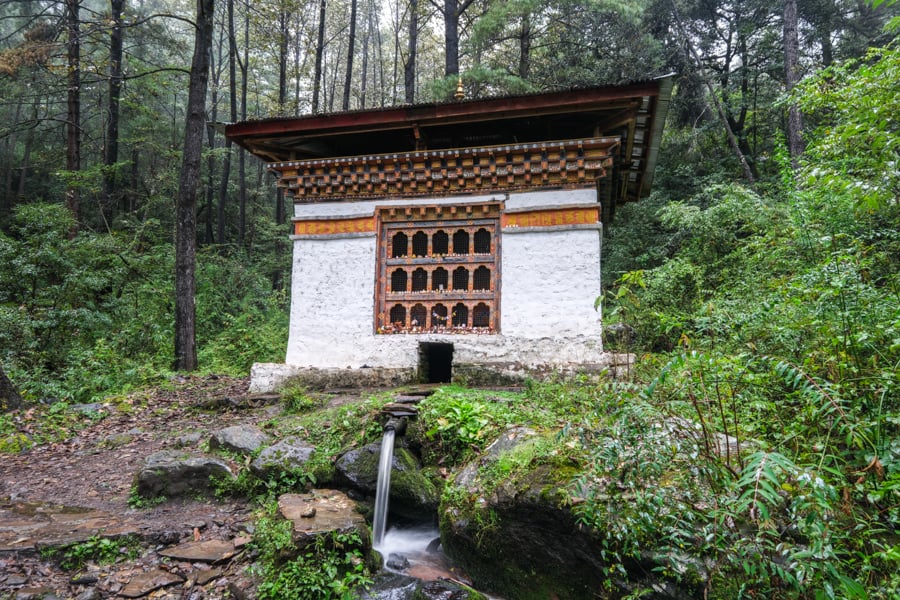
Early on, you’ll pass some little Bhutanese stupas with prayer wheels inside, and a small stream and waterfall. The hiking path can be a bit rocky and muddy in places, and there are occasionally tree roots to step over. Even though the trail starts in the shade, much of it later on will be in the sun.
This is a very famous hike, so the main trail can be busy with people and also horses, which hikers may rent to help carry them partway up the mountain. This means you have to dodge horse poo along the trail.
You should give the horses plenty of space when they pass, because you don’t want to be kicked. Thankfully, the horses have bells, so you can always hear them coming.
A good local tour guide can also show you side routes with more shade and less people. There are lots of lesser used side trails on this hike because of the monastery’s long history as a Buddhist meditation site.
• Taktsang Cafeteria Views
After you’ve hiked approximately halfway to the Tiger’s Nest Monastery, you’ll reach a nice little mountain cafe called the Taktsang Cafeteria.
This is a great place to stop and rest, and the cafe has good views of the monastery from below. The monastery still looks far away at this point, and there’s plenty of climbing left to do, but your destination is getting noticeably closer.
The monastery is already in range for some good photos if you have a phone or camera lens with a bit of zoom. Meanwhile, you can buy food, drinks, or souvenirs at the cafe, and there are free bathrooms as well.
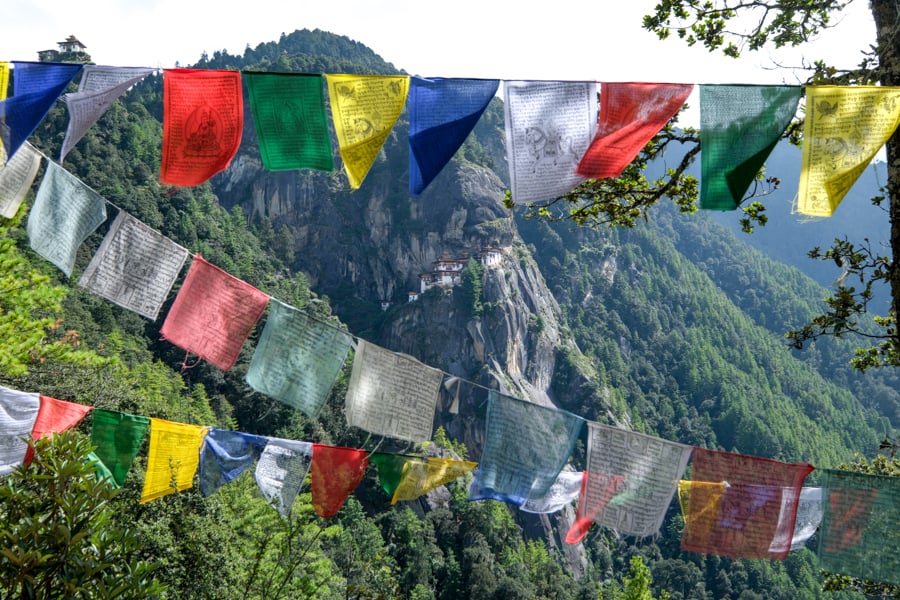
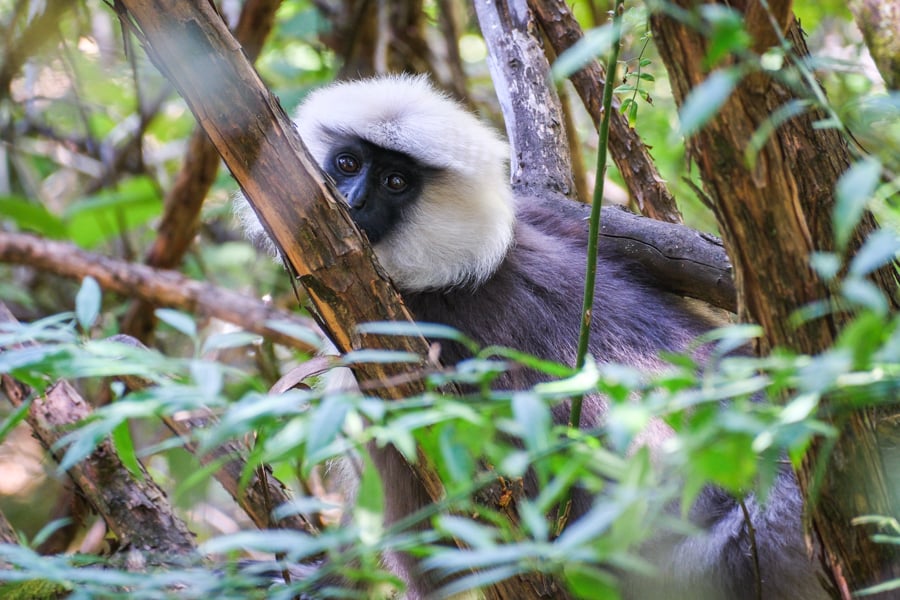
After leaving the cafe, there are several more nice views of the monastery as you keep climbing the trail. Along the way, we saw magpie birds and grey langur monkeys (including babies)!
The path gradually becomes a bit less steep as you go, until it finally flattens out when you’re getting close to the monastery.
• Tiger’s Nest Monastery Viewpoint
After about 2 hours of hiking (or more), you’ll finally reach the famous viewpoint of the Tiger’s Nest Monastery! This is the spot where all the great pictures are taken, showing the building perched on the edge of the giant cliff.
The monastery is extremely photogenic, and any phone or camera will take great pictures of it. You don’t need a special zoom lens or anything like that to get nice photos.
It’s a stunning sight to behold, and I felt like I could’ve stayed there for hours admiring the view. The cliff is massive and it has a sheer drop of more than 900 meters (3,000 feet)!
It’s hard to believe anyone could build something so fantastic on this cliff, especially in 1692 when the monastery was first established. I really think it’s one of my favorite things I’ve seen anywhere in the world.
The viewpoint has several tiers, so there’s lots of room to spread out and take photos. Crowds usually form at the first viewpoint, but you can take even better photos if you keep going lower and closer to the monastery.


• Taktsang Waterfall & Bridge
From the main viewpoint, in order to reach the Tiger’s Nest Monastery and go inside, you will have to hike down a series of concrete steps and then go up even more steps, but there’s a metal railing you can hold at all times.
At the bottom, you’ll cross a foot bridge over a stream, and pass a tall waterfall with several drops. It’s an impressive waterfall that’s apparently hundreds of meters tall if you measure it from the base of the mountain!
I never knew there was a waterfall at Taktsang Monastery, so this was a fun surprise to see.
• Inside The Tiger’s Nest Monastery
Now that you’ve reached the Tiger’s Nest Monastery, it’s time to go inside. You can’t bring any bag, camera, or phone inside, but entering the Tiger’s Nest is still very worthwhile.
There are big, spacious lockers at the monastery entrance where you can store your camera stuff. My entire 30 liter backpack fit inside a locker just fine, with room to spare. I was a little nervous leaving my expensive gear here, but it was no problem.
The inside of the monastery has many interesting rooms and corridors, with a holy cave, temples, and small courtyards. Inside the temples, there are colorful paintings on the walls, and Buddhist monks chanting, praying, and burning incense.
• Viewpoints Above The Tiger’s Nest
If you still have extra time and energy after visiting the Tiger’s Nest, you can hike even higher on the opposite mountain.
Starting from the famous viewpoint, there’s a little used hiking path that leads up to several other interesting Bhutanese temples with sweeping views of the valley and Paro Taktsang.
Most tourists don’t know about this detour, so you can have the views all to yourself, and it gives you a unique perspective of the Taktsang monastery from above.
How Hard Is The Hike?
The difficulty of the Tiger’s Nest hike will depend on your age and fitness level, and whether you’re acclimated to elevation before you start. If you’re a young and fit hiker, reaching the Tiger’s Nest will be fairly easy for you.
However, for most people, I would describe the hike as moderately difficult. It will definitely be challenging for older folks who don’t hike much, but it’s still doable if you take your time. I’ve heard of people as young as 3 and as old as 85 completing this hike, but not without some struggle.
There is quite a bit of uphill walking on rough terrain, and the relatively high top altitude of 3,100 meters (10,170 feet) adds another layer of challenge for us sea level dwellers. I got a headache after my first visit to Paro Taktsang, but some bedrest and ibuprofen cleared it up.
If you think you might have a hard time on this hike, I’d save it for later in your Bhutan itinerary, that way you’ll already be better acclimatized for the altitude. Besides, the Tiger’s Nest makes a nice ‘grand finale’ for your trip anyway, since it’s easily one of the most best things to do in Bhutan!
If you want to make things easier, you can also pay to rent a walking stick or horse at the start of the trail. However, the horses can only carry you to the Takstang cafe, which is approximately halfway to the monastery. You’ll still have to be able to walk the rest of the way yourself. If you’re disabled or in a wheelchair, the hike won’t be possible for you.
Frequently Asked Questions
- What does Taktsang mean in English?
The name Taktsang means ‘tiger’s lair’ in Tibetan. According to legend, the Indian guru Rinpoche (also known as Padmasambahva) was transported to the cave on the back of a tigress, giving this place the name it has today.
- Are there wild tigers here?
No, there aren’t wild tigers living in the Paro area anymore, but they still live in other parts of Bhutan. If you’re lucky, you can see Bengal tigers in the Jigme Singye Wangchuck or Royal Manas National Park. Both of these parks are in central Bhutan.
- Where is Taktsang located?
Taktsang is located on a steep cliff outside of Paro town, in western Bhutan. You can drive to the starting point in 30 minutes from Paro town, but the only way to reach the monastery is by hiking to it.
- When was Paro Taktsang built?
The Tiger’s Nest Monastery was formally built in 1692, although its history as a Buddhist meditation cave dates back to the 9th century. Today, it’s a famous icon of Bhutan, and the cliffside monastery was even featured on the back of the country’s 5 ngultrum cash notes.
- Can kids do the Tiger’s Nest hike?
Yes, kids can hike to the Tiger’s Nest, but I would definitely try to get acclimated to the altitude before doing the hike with kids. I would say 7 is a good age, although I’ve heard of younger kids doing it as well. I wouldn’t recommend kids going on horseback here, because the seat is high for kids and the ponies can be a bit erratic since the path is rough. It would be easy for a kid to fall from a horse here, and they could be seriously injured if that happened.
You can hike slowly, take your time, and drink lots of water. If your kids are having too much difficulty on the hike, you can always turn around at the cafeteria or later, while still getting some views of the Tiger’s Nest.
- How many steps up to the Tiger’s Nest in Bhutan?
There isn’t an exact count of how many steps the hike takes since it’s mostly a dirt trail, but the final section alone has hundreds of stone steps. Some sources say there are 700 stone steps to go from the viewpoint to the monastery. All in all, it’s quite a workout, but it’s worth every minute!
Search Post
Latest Post
Featured
© 2025 All Right By Reserved Blue Chip Booking